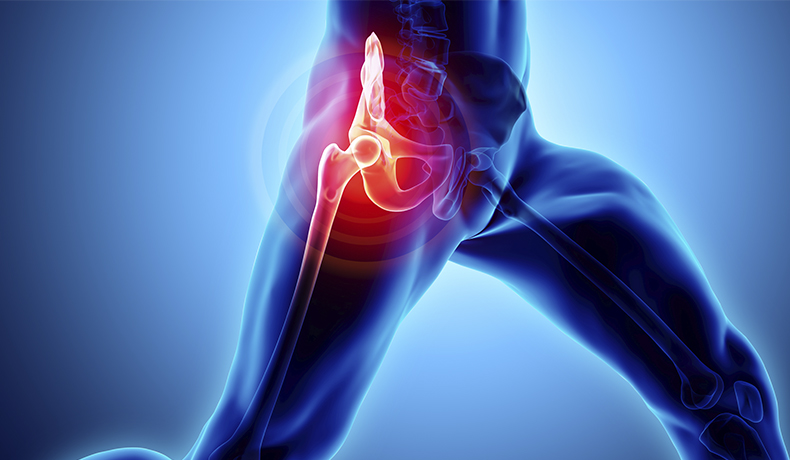
Post-Hip Replacement Care and Recovery
You’ve made it! With that new hip, you are officially one step closer to becoming the Terminator, all you now need are some clothes, boots, and a motorcycle…
All jokes aside, this is quite a moment for you; a hip replacement is nothing short of a big deal, and with the right physical therapy and exercise, you can expect to be back to your old self in no time.
But the big question now presents itself: What activities can you do to aid your hip replacement recovery? Well, assuming you have been given the all-clear by your doctor and physical therapist, you can begin getting back in action relatively quickly, post-operation.
First of all, you should avoid any pivoting or twisting for up to 12 months after receiving hip replacement surgery. These are considered high-risk motions due to the strain they put on the hip joint itself, so as much as the need to ‘twist and shout’ presents itself, it’s best to leave it for a later date. Climbing the stairs too frequently, bringing the affected leg across the body, or turning the leg inward is also high risk, as is bending at the waist past 90 degrees, which unfortunately includes forward bends and squats.
Who needs those movements anyway?
Along with the plethora of exercises your physical therapist can provide, why not try some of the exercises below to keep your body active, fit, and steady on the path to recovery.
Walking
Walking is enormously underrated. Did you know that just by walking for 45 minutes one can expect to burn 300 Calories? It’s understandable that a 45-minute walk can sound like a lot, but there are numerous ways to get in your walking minutes. Whenever you take or make a call, why not plug in your headphones and go for a stroll? It doesn’t have to be anything strenuous, just a light walk around your local park, or even a few laps of your living room would do the trick! You might even inspire the person you’re talking with to do the same.
Cycling
Again, once the ‘OK’ has been given by your doctor, cycling is one of the best ways to remain active. The low-impact nature of cycling or spinning keeps any unnecessary pressure off your hip joint and does wonders for your knees, ankles, and core. Begin with a home exercise bike to gradually build up your leg strength, set the seat to a comfortable level, and be sure to avoid the harder settings until you feel confident enough to progress.
Home Exercises
If walking and cycling are currently out of the picture, begin with some simple and light home movements to get you well and truly on the strengthening train.
All aboard.
Perform the following exercises either while lying down on your back or from a seated position (a yoga/exercise mat, a soft workout surface, or even your bed can be excellent places to start). Begin by working through each exercise twice per day, sticking with 3 sets of 10 repetitions. Rest for 60 – 90 seconds between each set.
Thigh Squeezes – Push down with the back of your knee into the workout surface tensing your upper thigh as you do so, being sure to hold the flex for no longer than 4 seconds.
Buttock Squeezes – Tense your buttock muscles by squeezing them together for a count of 4 seconds before releasing them. These can be performed in a seated or lying position; while waiting for dinner, right before you sleep, or even when at the movies. Nobody will ever know.
Leg Slides – While lying down, with your feet together, slide the recovering leg out to the side creating between 12 – 24 inches of space between both feet. Make sure your knee cap remains pointing towards the ceiling at all times. Then, bring your leg back into the middle. If you’re having trouble sliding your leg, place a plastic bag underneath your heel to minimize friction.
Ankle Extensions – Again these can be performed in both a seated or lying position, simply extend your toes away from your shin, hold for a count of 2, and then bring back them up towards your shin for another count of 2.
Seated Leg Extensions – Be sure to be seated in a sturdy chair for this one (an upright ‘La-z-boy’ would work too!). Keeping your upper leg on the chair, extend your leg by straightening at the knee, bring your toes up to run parallel with your thigh, hold for a count of 2 before lowering back down to the starting position.
Of course, keeping your household ‘hip recovery friendly’ is key. Avoid the risk of trips and falls by maintaining clutter-free rooms at all times. Throw rugs and doormats should be viewed as risky areas too – perhaps it’s best to do away with these while in recovery mode.
Finally, a note on swelling and inflammation. It’s important to keep swelling down as much as possible during recovery. If swelling occurs, keeping your leg the same level as your heart is an excellent first step, you can do this by lying down while, very slightly, propping your leg up about 6 inches with a rolled-up towel placed under your ankle. Follow this with 15 – 20-minute cycles of on-off ice-pack treatment. Simply place a dry towel around your hip, with a flexible ice pack on top, and hold at the point of swelling. A quick Google search of TV shows that last 20 minutes will ensure you’re rotating on and off with each new episode (The Office is a great place to start!).
Of course, run any doubts you may have by your doctor or physical therapist before getting started. The road to recovery may be a little long and bumpy, but with the right kind of tools, mindset, and engine; you can expect to get to your destination stronger than ever.
